


Step 1: Take a Picture
Capture a photo of your space using your phone camera.
Bring refined, urban texture to your space with a concrete-inspired removable wallpaper that adds depth without the weight or mess of real masonry. Designed for easy updates to living rooms, bedrooms, offices, and rentals, this print delivers a modern, architectural look that’s PVC-free and printed with eco-friendly, water-based inks.
If your wallpaper uses paste, follow the paste manufacturer’s instructions. If it has a removable liner, peel a small section at a time as you smooth.
 100% Printed in the USA and No tariffs
Couldn't load pickup availability
Your payment information is processed securely. We do not store credit card details nor have access to your credit card information.

Enjoy a surprisingly simple installation of Urbanist Form Concrete Wall
Urbanist Form Concrete Wall is made of peel and stick material. Each panel is 24 in wide
Urbanist Form Concrete Wall is fully customizable to your wall's dimensions. Specify the exact size and cropping for a perfect fit.
Sustainably produced with eco-friendly inks and PVC-free material for a healthier home.

Introducing our 6.0 mil matte white semi-rigid vinyl, designed for ultimate versatility. Its secret is a specially formulated, pressure-sensitive adhesive that offers a powerful hold while remaining completely removable for up to a year. This "high-tack, removable" (HTR) combination ensures your project stays securely in place. And for a stress-free installation, the adhesive won't stick to itself, allowing you to reposition and handle the vinyl with ease.

This easy-to-use Canvas Peel & Stick film lets you transform any smooth wall. It's a textured vinyl that applies without a mess and can be repositioned or removed whenever you want, leaving no residue behind. The durable material is perfect for creating temporary displays or permanent decor.

This easy-to-use Fabric Peel & Stick lets you transform any smooth wall. Made from a durable, matte white fabric, it applies without a mess and can be repositioned or removed whenever you want, leaving no residue behind.
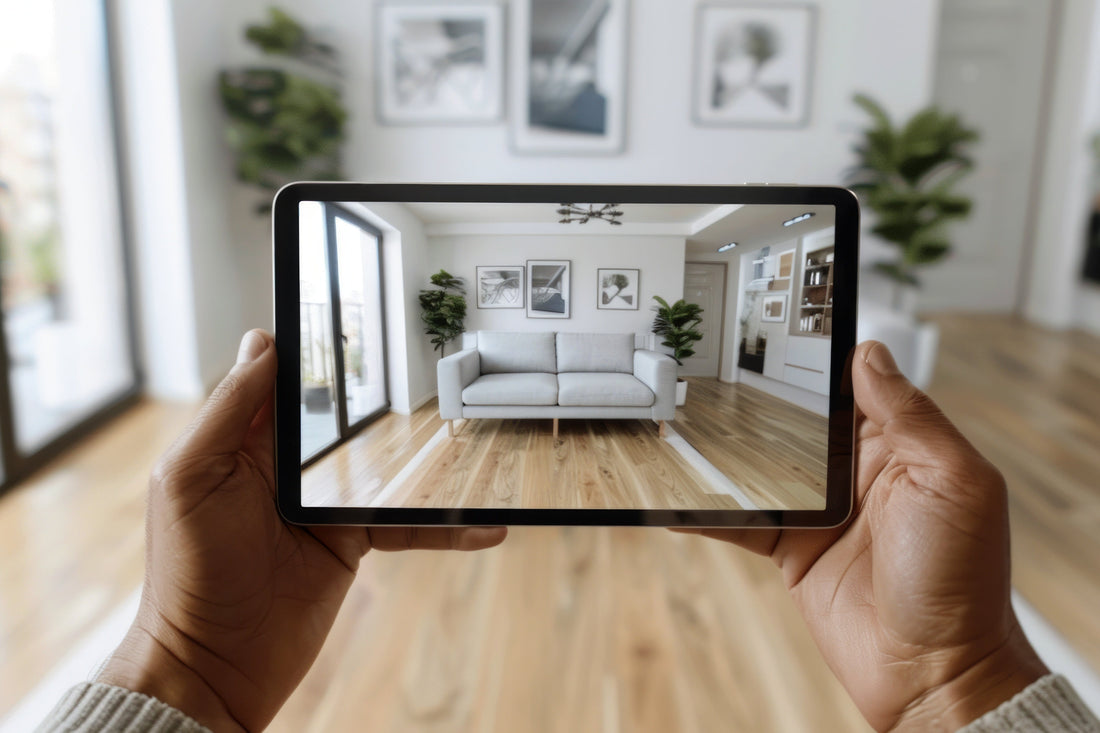
Capture a photo of your space using your phone or tablet camera.
Make sure your photos show the walls well.
Capture the ceiling and floor above and below the wall.
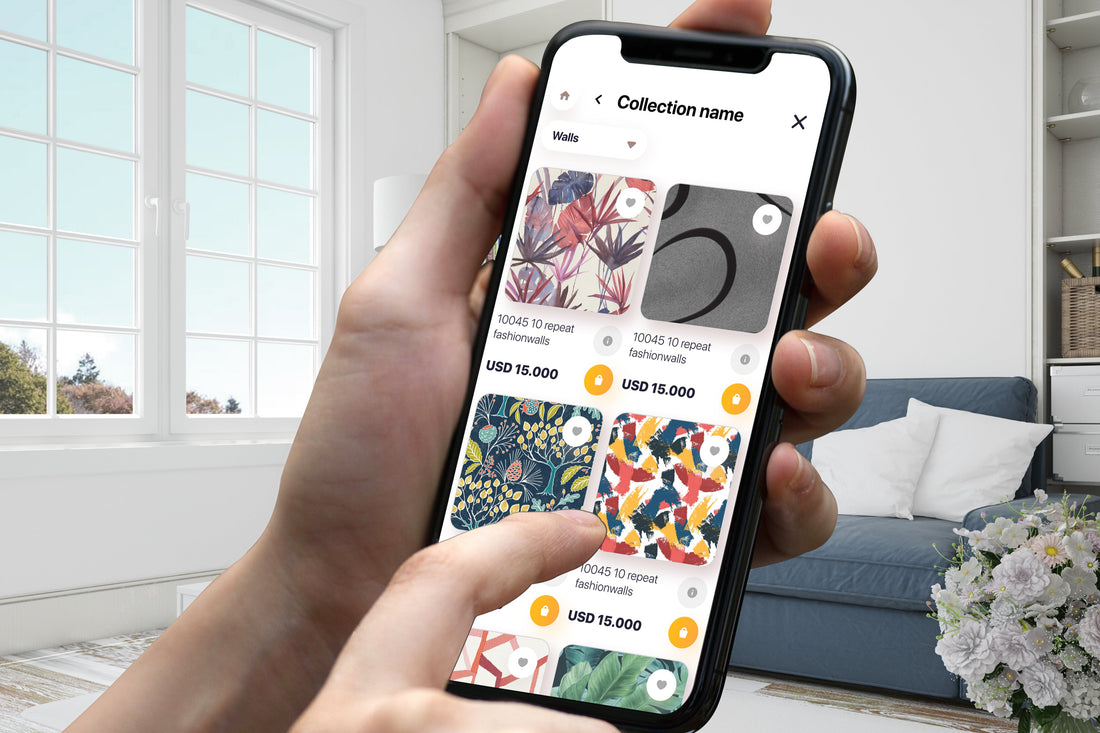
Select the finishing wallpaper you want to visualize from our extensive library.
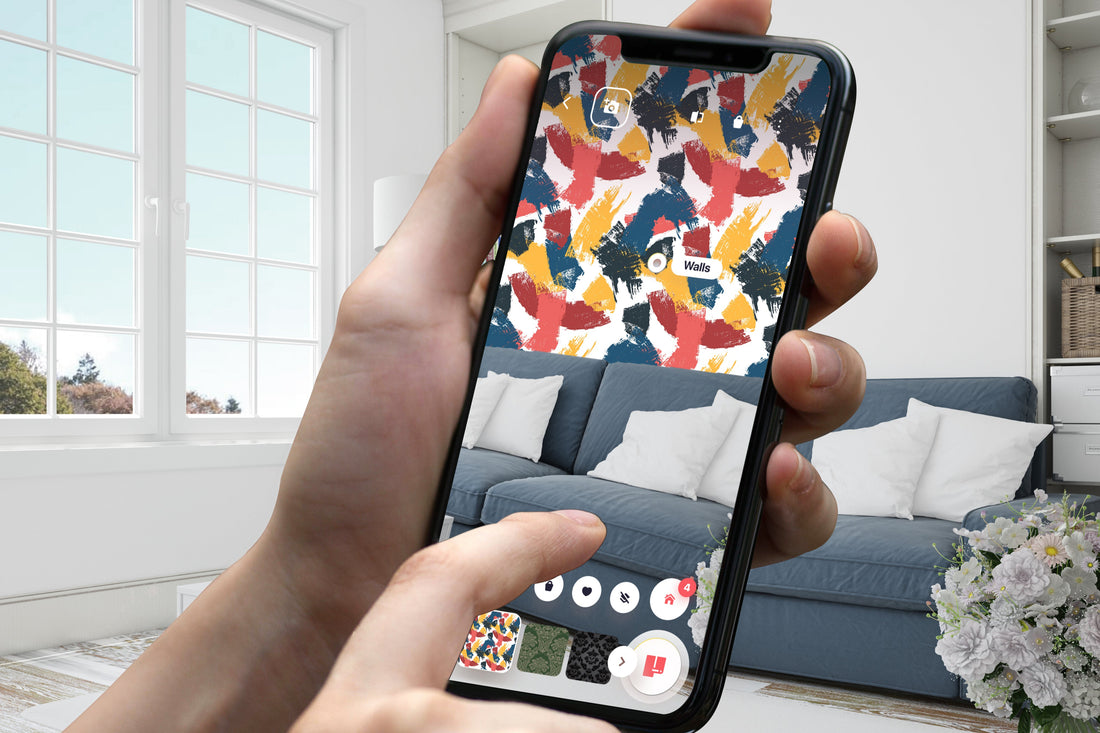
See the transformation instantly!
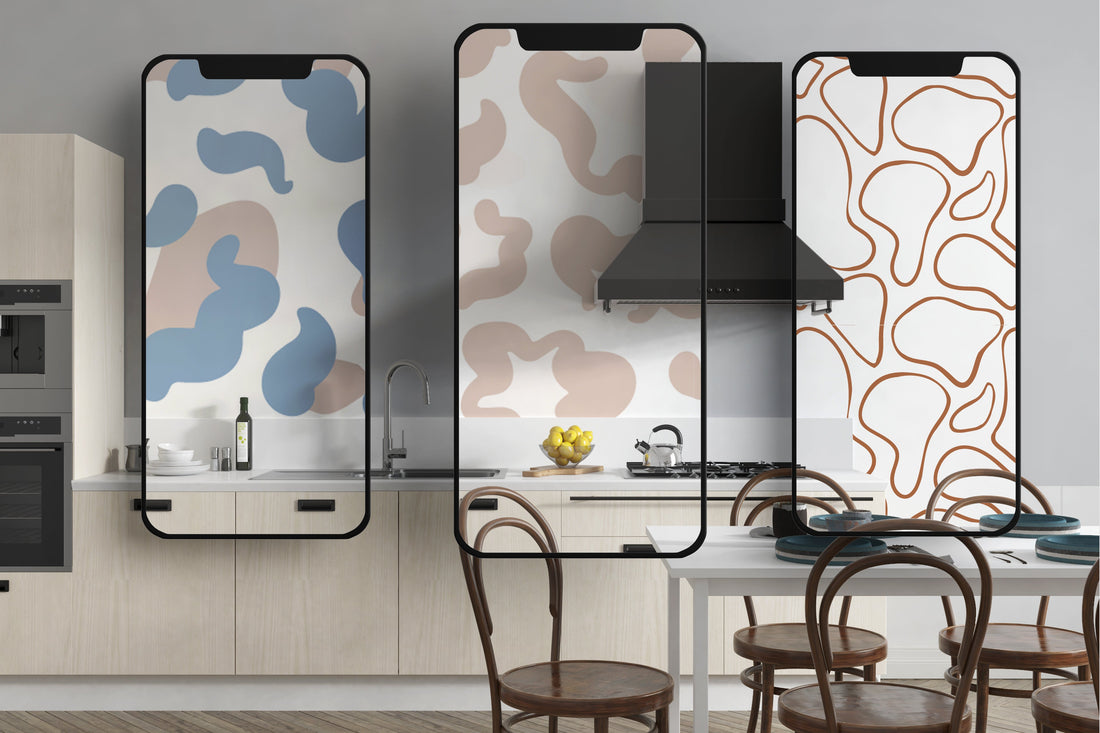
Adjust and experiment with deifferent finishes to find your perfect look.
Learn how to get the most accurate and realistic results with our easy‑to‑follow guide.
See how easy it is to visualize your dream interiors with the Visualizer. Follow these simple steps to get started.
Capture a photo of your space using your phone camera.
Select the finishing materials you want to visualize from our extensive library (wallcoverings, murals, tiles, paint).
See the transformation instantly. Adjust and experiment with different finishes to find your perfect look.
Take photos in well‑lit areas. Use natural or artificial light, but avoid very dark or overly bright spots.
Hold your phone at eye level when you take pictures.
Don’t cut or crop your photos after taking them.
Use the 16:9 or 4:3 settings on your camera. Other settings can affect accuracy.
You can take pictures in both horizontal and vertical positions.
The Visualizer lets you upload photos of your space and overlay finishing materials—such as tiles, wallpaper, or paint—onto the photo so you can preview how products will look before you buy.
Upload clear, high‑quality photos of your room. Show a good portion of the interior walls, and avoid cropping or heavily editing the images before uploading.
Yes. You can use any standard phone camera. For the best results, avoid zoom or wide‑angle lenses—just take a clear, straightforward photo of your room.
Take photos in well‑lit environments with natural or artificial lighting. Avoid areas that are too dark or overly bright, since extreme lighting can affect the visualizer’s accuracy.
Once your photo is uploaded, browse our catalog of finishing materials and select the ones you want to visualize. The visualizer applies these materials to your photo to give you a realistic preview.
If issues persist, contact our support team for assistance: support@example.com.
Bring refined, urban texture to your space with a concrete-inspired removable wallpaper that adds depth without the weight or mess of real masonry. Designed for easy updates to living rooms, bedrooms, offices, and rentals, this print delivers a modern, architectural look that’s PVC-free and printed with eco-friendly, water-based inks.
If your wallpaper uses paste, follow the paste manufacturer’s instructions. If it has a removable liner, peel a small section at a time as you smooth.


